[Live Lab] Streaming 101: Hands-On with Kafka & Flink | Secure Your Spot
Announcing the Snowflake Sink Connector for Apache Kafka in Confluent Cloud
We are excited to announce the general availability release of the fully managed Snowflake sink connector in Confluent Cloud, our fully managed event streaming service based on Apache Kafka®. Our managed Snowflake sink connector eliminates the need to manage your own Kafka Connect cluster, reducing your operational burden when connecting across Kafka and Snowflake in all major cloud providers, including Amazon Web Services (AWS), Microsoft Azure, and Google Cloud.
Before we dive into the Snowflake sink, let’s recap what Snowflake is and does.
What is Snowflake?
Snowflake’s Cloud Data Platform shatters the barriers that have prevented organizations of all sizes from unleashing the true value from their data. Thousands deploy Snowflake to advance their businesses beyond what was once possible by deriving all the insights from all their data by all their business users. Snowflake equips organizations with a single, integrated platform that offers the data warehouse built for the cloud; instant, secure, and governed access to their entire network of data; and a core architecture to enable many types of data workloads, including a single platform for developing modern data applications.
Getting started with Confluent Cloud and Snowflake
To get started, you need access to Confluent Cloud as well as a Snowflake account. You can use the promo code CL60BLOG to get an additional $60 of free Confluent Cloud usage.* If you don’t have Snowflake yet, you can sign up for a 30-day free trial. When using the Snowflake sink connector, your Snowflake account must be located in the same region as the cloud provider for your Kafka cluster in Confluent Cloud. This prevents you from incurring data movement charges between cloud regions. In this blog post, the Snowflake account is running on AWS us-west-2, and the Kafka cluster is running in the same region.
Once you have your Snowflake account, you will need to create a public key and a private key. Create a user with the public key, and assign the right permission to the user in Snowflake based on this documentation. You will need the private key to configure the Snowflake sink connector.
Using the Snowflake sink
Building upon this food delivery scenario, we just launched the new user profile page to accommodate a huge volume of registrations. We want to understand how stable the new page is by analyzing failure and success of user actions on the page.

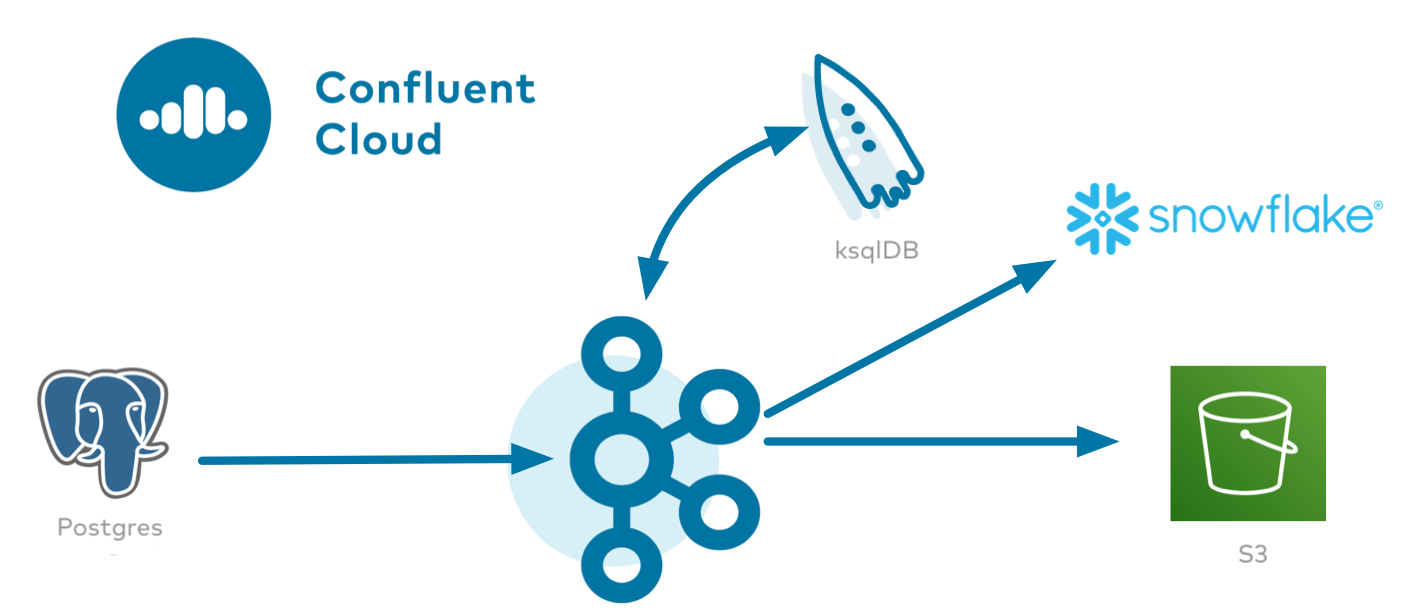
To do this, first use the Cloud ETL demo to spin up a Postgres database in Amazon RDS and a Kafka cluster (AWS us-west-2) with the topics eventlogs, COUNT_PER_SOURCE, and SUM_PER_SOURCE. Demo.cfg has been changed as follows to use Amazon RDS for Postgres as a source system and the Amazon S3 sink as a destination.
##########################################################
# Source
##########################################################
DATA_SOURCE can be one of 'kinesis' or 'rds' (Amazon RDS for PostgreSQL)
export DATA_SOURCE='rds' #---------------------------------------------------------
AWS RDS for PostgreSQL
#---------------------------------------------------------
DB_INSTANCE_IDENTIFIER: PostgreSQL DB will be created and deleted by the demo
export DB_INSTANCE_IDENTIFIER=confluentdemo
export RDS_REGION='us-west-2'
AWS_PROFILE: profile must exist in ~/.aws/credentials
export AWS_PROFILE=default ##########################################################
Cloud storage sink
##########################################################
export STORAGE_REGION='us-west-2'
DESTINATION_STORAGE can be one of 's3' or 'gcs' or 'az'
export DESTINATION_STORAGE='s3'
The parameters below need to be set depending on which storage cloud provider you set in DESTINATION_STORAGE
#---------------------------------------------------------
AWS S3
#---------------------------------------------------------
S3_PROFILE: profile must exist in ~/.aws/credentials
export S3_PROFILE=default
S3_BUCKET: bucket name
Demo will modify contents of the bucket
Do not specify one that you do not want accidentally deleted
export S3_BUCKET='confluent-cloud-etl-demo-snowflake'
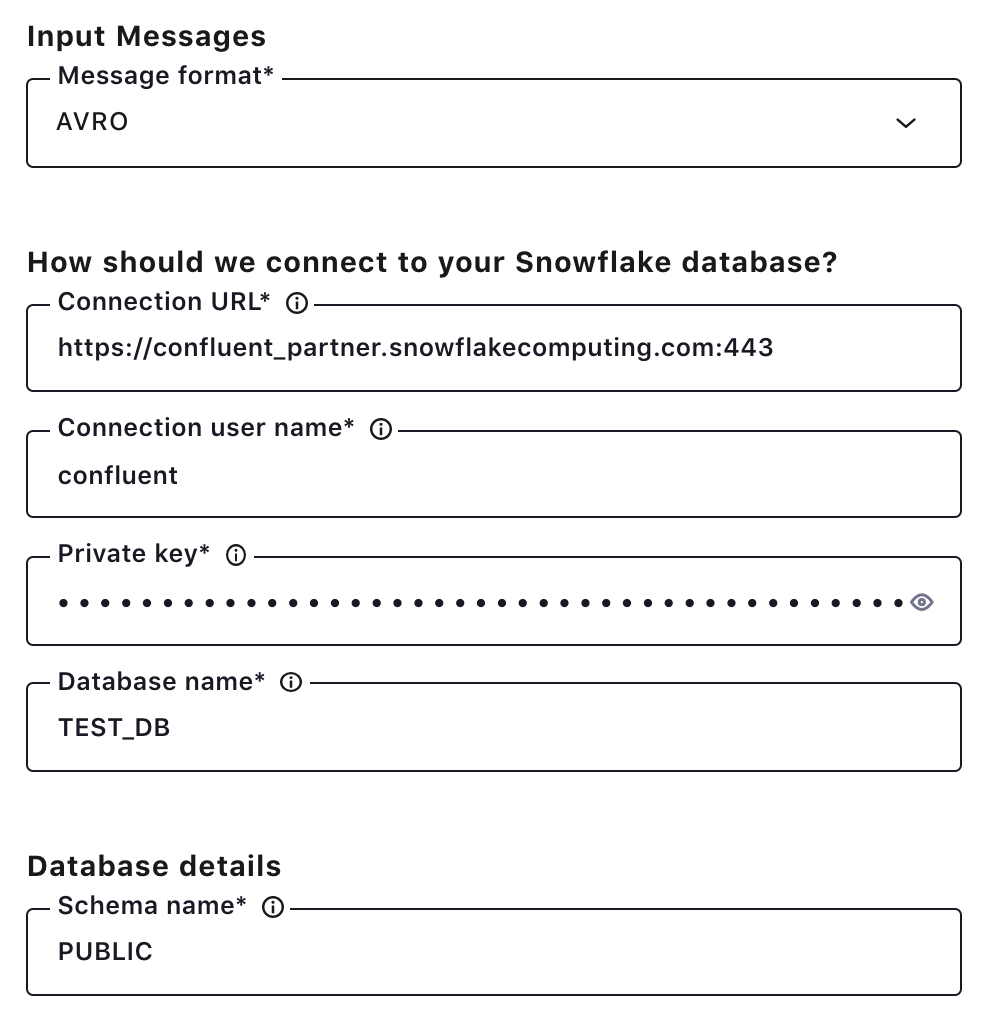
Click the Snowflake sink connector icon under the “Connectors” menu, and fill out configuration properties with Snowflake. Make sure AVRO is selected as the input message format. The connector will use the SUM_PER_SOURCEtopic as a table name. You can also use a CLI command to configure this connector in Confluent Cloud.

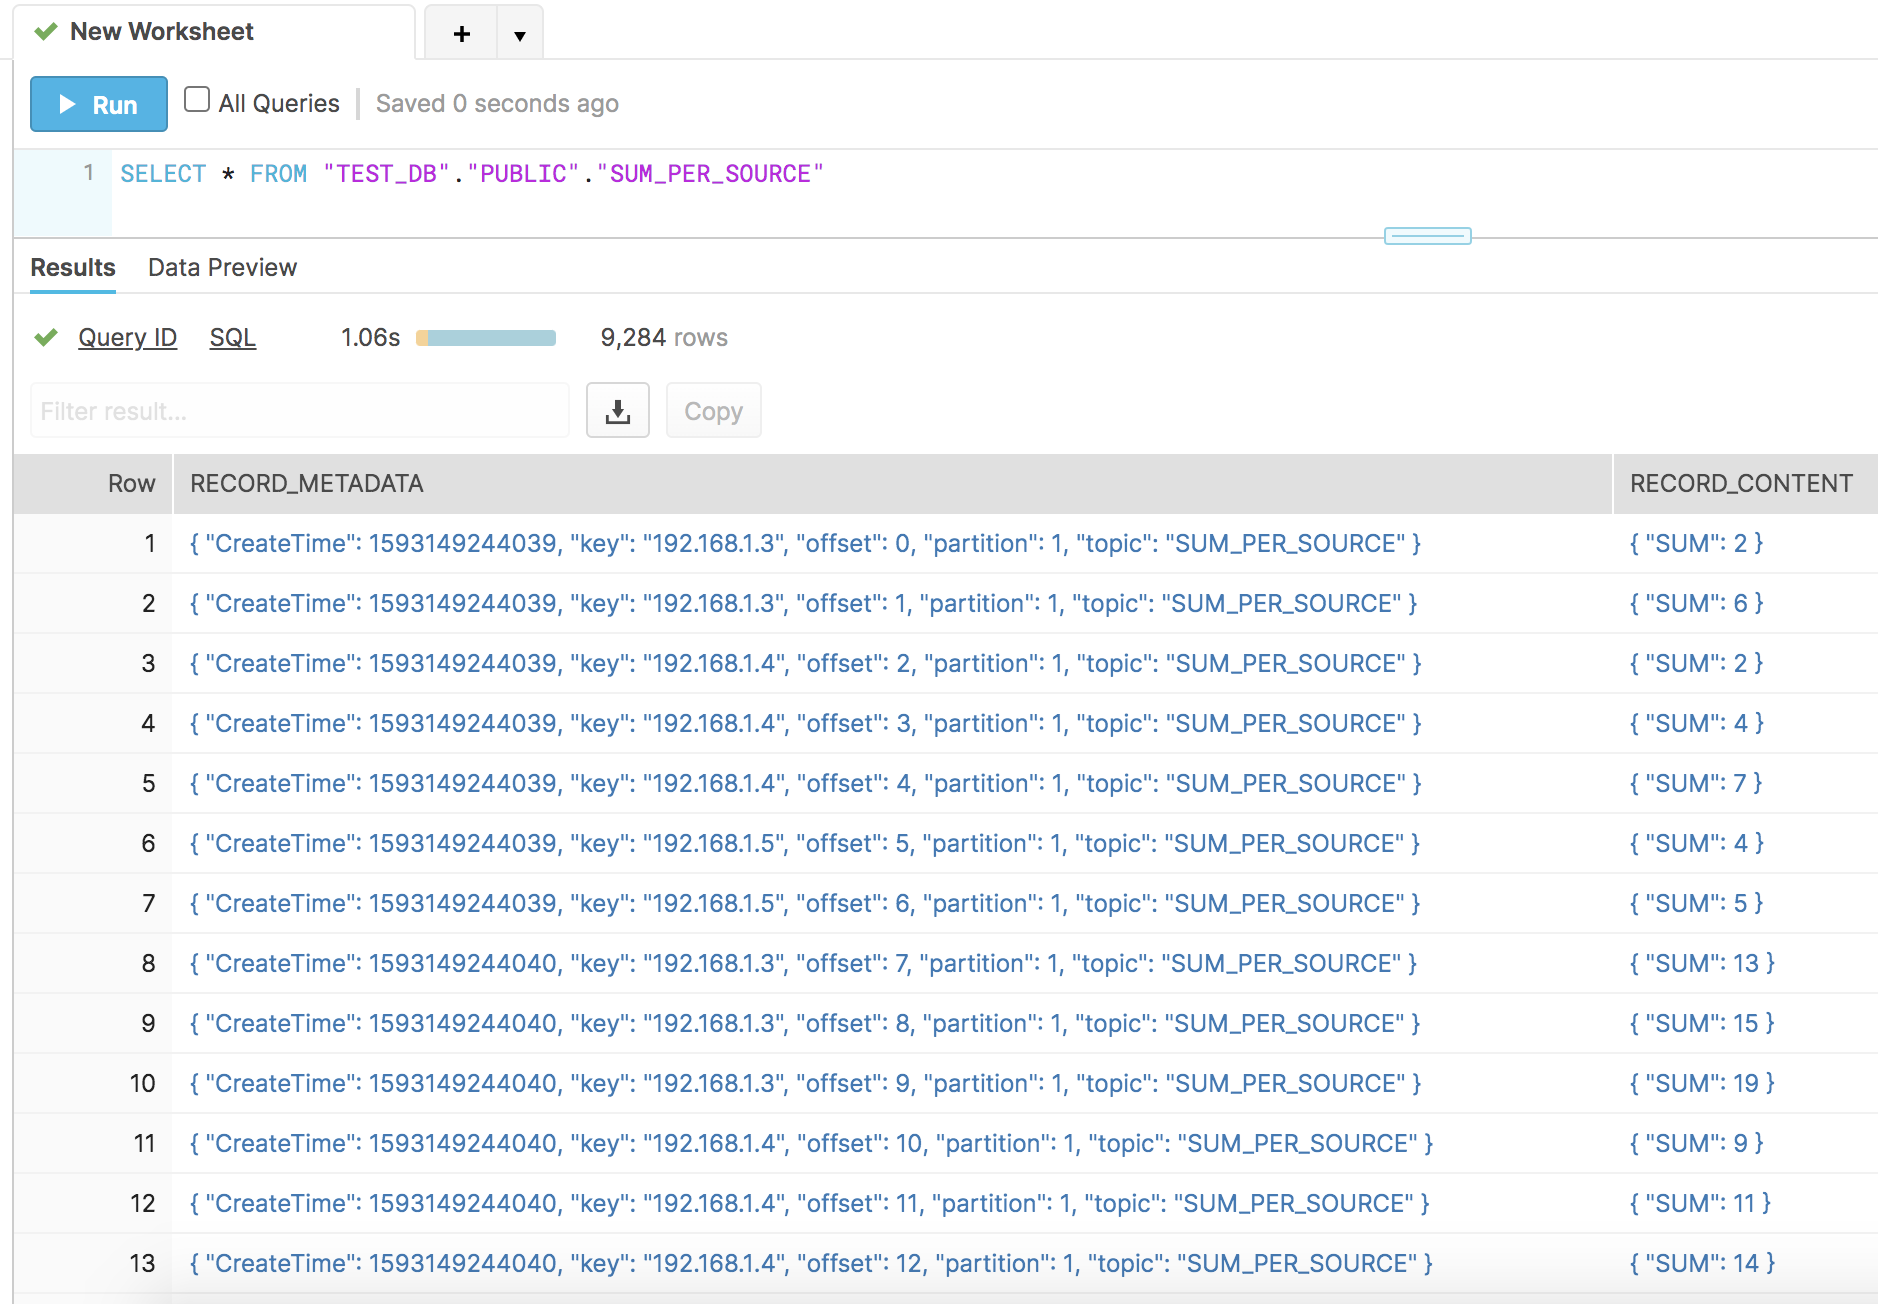
Once the connector is up and running, records for the SUM_PER_SOURCE table will show up in Snowflake.

Now you have the sum and success of user actions per IP address on your new profile page. With the fully managed Snowflake sink connector, you can create similar pipelines to Snowflake with no operational burden.
Learn more
If you haven’t tried it yet, check out Confluent Cloud, a fully managed event streaming service based on Apache Kafka, available on Microsoft Azure and GCP Marketplaces with the Snowflake sink and other fully managed connectors. You can enjoy retrieving data from your data sources to Confluent Cloud and send Kafka records to your destinations without any operational burdens. For additional resources, check out the following:
Avez-vous aimé cet article de blog ? Partagez-le !
Abonnez-vous au blog Confluent
Empowering Customers: The Role of Confluent’s Trust Center
Learn how the Confluent Trust Center helps security and compliance teams accelerate due diligence, simplify audits, and gain confidence through transparency.
Unified Stream Manager: Manage and Monitor Apache Kafka® Across Environments
Unified Stream Manager is now GA! Bridge the gap between Confluent Platform and Confluent Cloud with a single pane of glass for hybrid data governance, end-to-end lineage, and observability.

